Scanning Devices for Door Staff and Volunteers
Overview
Running events means managing entry points. You need staff at doors scanning tickets, but you do not want to give those devices full access to your organisation's financial data and attendee information. Device Management solves this by creating restricted logins specifically for scanning.
At its simplest, Device Management answers one question: How do I let scanning devices access my events without exposing sensitive information?
Who uses this: Organisation administrators with full access to the organisation editor.
Key capabilities:
- Register devices with unique aliases and passcodes
- Provide scanning-only access without financial or administrative visibility
- Add or remove devices at any time
- Track which device performed each scan in your event history
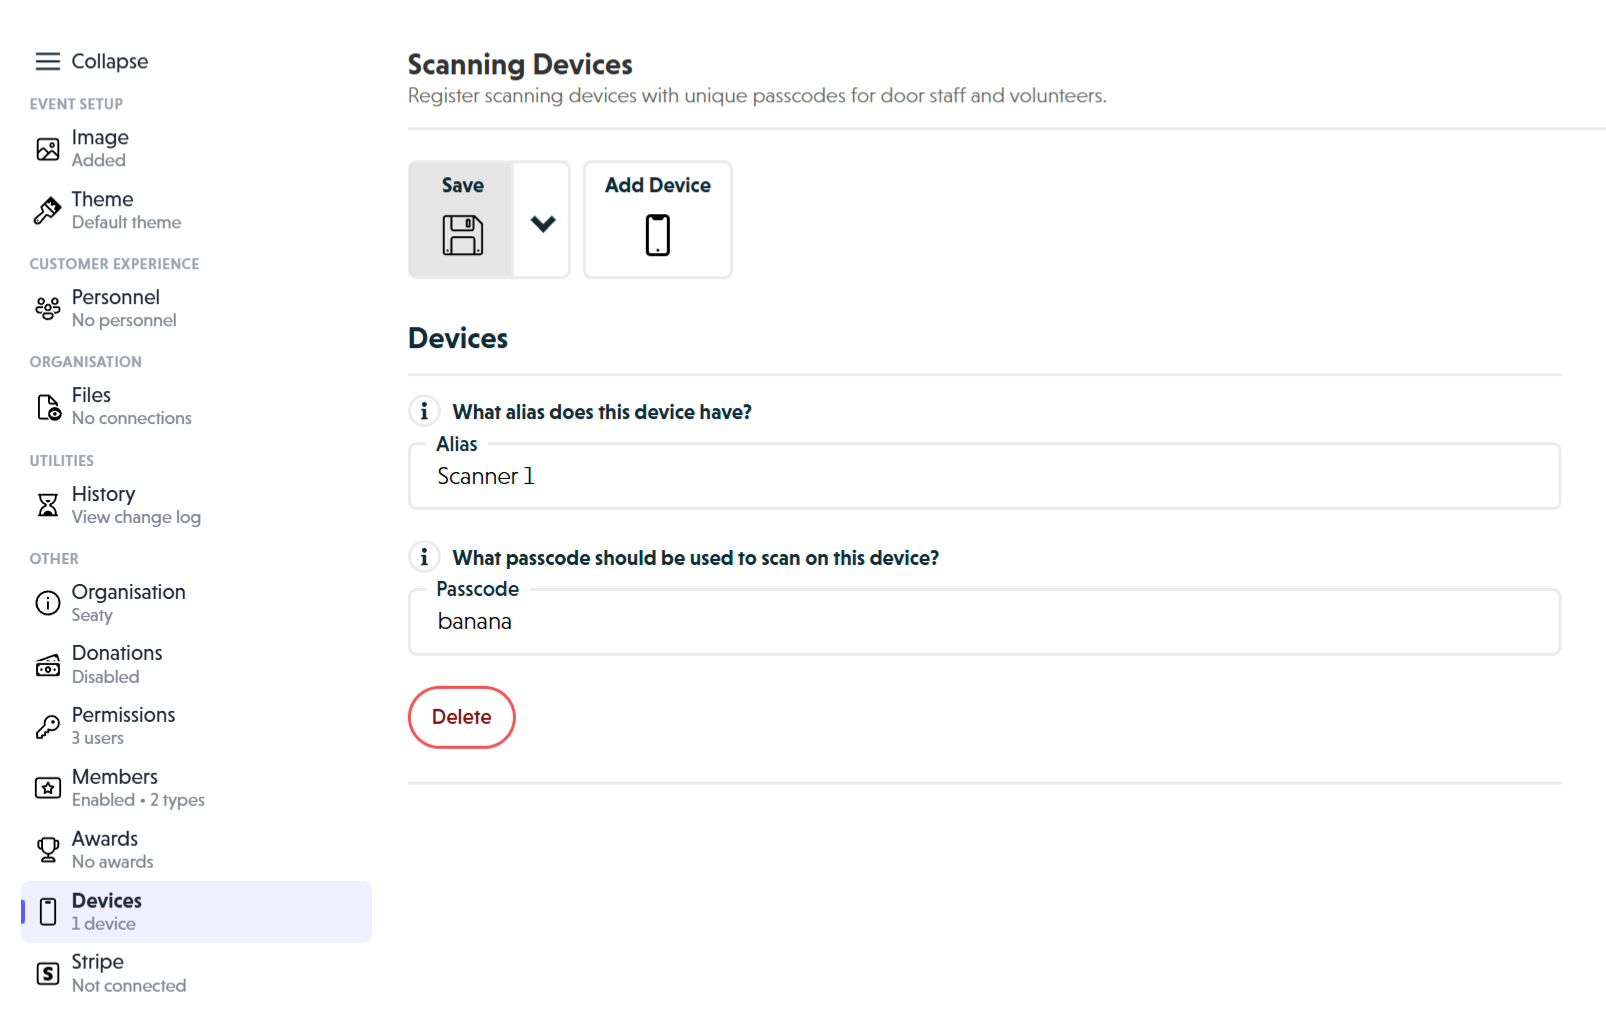 Devices section showing alias and passcode fields for registered scanning devices
How It Works
At a glance: You create device credentials in the organisation editor, then staff sign in on the mobile app using those credentials to scan tickets.
1. Register devices in the organisation editor
Open the Devices section in your organisation editor. For each scanning device you need, add an entry with a memorable alias (like "Front Door Tablet") and a passcode. The alias helps you identify which device performed scans in your event history.
2. Staff sign in on the mobile app
On the day of the event, staff open the mobile app and tap "Sign in as a device". They enter your organisation tag and the passcode you created. Once authenticated, the device shows a simplified scanning interface.
3. Devices scan tickets with restricted access
Authenticated devices can scan ticket QR codes, mark attendees as checked in, and flag tickets for review. They cannot access payment information, send emails, process refunds, or view complete attendee details.
4. Scan history tracks device activity
Every scan records which device performed it (by alias) along with the timestamp and result. This creates an audit trail for event entry and helps you identify issues with specific scanning points.
Think of it this way:
- User accounts are for people managing the organisation
- Device logins are for tablets and phones at the door
- The organisation tag identifies which organisation the device belongs to
Understanding Device Access
Device logins provide restricted access designed specifically for entry scanning.
What devices can do
- Scan ticket QR codes at event entry
- View basic scan status (valid, invalid, or already scanned)
- Mark attendees as checked in or out
- Flag tickets for review
- View attendance rosters for authorised events
What devices cannot do
- Access financial information or payment details
- View complete attendee lists or personal information
- Edit events or organisation settings
- Process refunds or cancellations
- Send emails to attendees
- Access reports or export data
- View full order details
Why this matters: If a device is lost or stolen, your organisation's sensitive data remains protected. The passcode only grants scanning access, not administrative control.
Adding Devices
Creating a new device
- Navigate to the Devices section in your organisation editor
- Click "Add Device" in the toolbar
- A new device entry appears with two fields: Alias and Passcode
Configuring the alias
The alias identifies this device in your scan history and reports.
- Enter a descriptive name in the "Alias" field
- Maximum 100 characters
- Choose names that identify the device's location or purpose
Recommended alias patterns:
- Location-based: "Front Door Tablet", "Side Entrance iPad"
- Function-based: "VIP Scanner", "General Admission Device"
- Staff-based: "Box Office Scanner", "Volunteer Tablet 1"
Why aliases matter: When reviewing scan history, the alias tells you which scanning point handled each entry. Consistent naming makes patterns easier to spot.
Setting the passcode
The passcode authenticates the device to your organisation.
- Enter a passcode in the "Passcode" field
- Maximum 100 characters
- Use a unique passcode for each device
Passcode recommendations:
- Use a mix of letters and numbers
- Avoid easily guessable codes like "1234" or "password"
- Do not share the same passcode between devices
- Consider location-based codes (e.g., "FrontDoor2025")
Note: Device passcodes are separate from personal account passwords. Do not reuse passwords you use elsewhere.
Saving the device
Click "Save" in the toolbar. The device is now registered and ready to use. Make note of the alias and passcode for the person using the device.
Signing In on the Mobile App
Device sign-in process
- Open the mobile app
- Tap "Sign in as a device"
- Enter your organisation tag (the short name for your organisation, e.g., "mytheatre")
- Enter the device passcode
- Tap "Submit"
The device is now authenticated and shows the scanning interface.
What staff see after sign-in
- The device name (alias) appears as the logged-in identity
- Access to scanning for all organisation events
- Simplified interface without financial or administrative features
- Ability to flag tickets and manage attendance
Troubleshooting sign-in
Cannot find device:
- Verify the organisation tag is correct
- Check the passcode matches exactly (case-sensitive)
- Ensure you saved after creating the device
Device access denied:
- Confirm the device has not been deleted
- Check the organisation tag spelling
- Try re-entering the passcode carefully
Managing Devices
Editing device details
- Find the device in the Devices list
- Update the Alias or Passcode fields
- Click "Save" at the top
Note: Changing the passcode requires re-authentication on the physical device. Staff must sign in again with the new passcode.
Viewing registered devices
Each device entry shows:
- Alias: The friendly name you assigned
- Passcode: The authentication code (visible for reference)
- Delete button: Option to remove the device
Review your device list regularly to ensure all entries are current and needed.
Removing devices
- Find the device in the Devices list
- Click the "Delete" button for that device
- Click "Save" at the top
Deleted devices lose access immediately. If someone is currently signed in on that device, they will be signed out. To restore access, you must add the device again and re-authenticate.
When to remove devices:
- Device is lost or stolen
- Staff member no longer works events
- Device is being retired or replaced
- Reducing the number of active scanning devices
Device Recommendations
Supported devices
The mobile app works on:
- iOS devices: iPhones and iPads (iOS 13.0 or later)
- Android devices: Phones and tablets (Android 5.0 or later)
Tablets provide larger screens for easier scanning at busy entrances.
Device requirements
- Camera: Required for QR code scanning
- Internet connection: WiFi or mobile data for real-time validation
- Battery: Ensure devices are charged or have power access
- Screen protection: Consider protective cases for event environments
Planning for events
Before the event:
- Test each device signs in successfully
- Verify scanning works with test tickets
- Ensure devices are fully charged
- Position devices at appropriate entry points
- Brief staff on device usage
During the event:
- Monitor device battery levels
- Have backup devices available
- Ensure stable internet connectivity
- Have admin contact available for issues
After the event:
- Review scan logs if needed
- Securely store devices
- Note any issues for future events
- Update device list if changes needed
Multiple device planning
For small events (under 100 attendees): 1-2 devices usually sufficient
For medium events (100-500 attendees): 3-5 devices recommended, multiple entry points
For large events (over 500 attendees): 5+ devices, dedicated devices per entrance, backup devices available
How Scanning Works
The scanning process
- Attendee arrives with ticket (printed or on phone)
- Staff scans QR code using authenticated device
- System validates ticket in real-time
- Device shows result (valid, invalid, or already scanned)
- Scan is logged with device alias and timestamp
What gets recorded
Every scan includes:
- Ticket information (which ticket was scanned)
- Device alias (which device performed the scan)
- Timestamp (exact date and time)
- Result (success, already scanned, or invalid)
This creates a complete audit trail of all entry activity at your events.
Device access scope
Devices can scan tickets for all events within your organisation, including current, upcoming, and past events. Devices inherit organisation-level access rather than event-specific permissions.
Common Questions
Setup and Configuration
Can I use the same passcode for multiple devices?
You can, but it is not recommended. Using unique passcodes per device means you can revoke access to a single device without affecting others. It also makes scan history clearer since each device has its own identity.
What happens if I change a passcode while the device is in use?
The device will need to sign in again with the new passcode. Any active scanning session ends when the passcode changes.
Is there a limit to how many devices I can register?
There is no limit. Register as many devices as you need for your events.
Security
What should I do if a device is lost or stolen?
Immediately delete the device from your organisation editor and save. This revokes access instantly. Then create a new device entry with a different passcode for the replacement device.
Can someone with device access see attendee personal information?
No. Device logins have restricted visibility. They can see scan results (valid/invalid) but not full attendee details, payment information, or order history.
Should I change passcodes regularly?
For ongoing organisations, consider reviewing device passcodes periodically. Change passcodes if you suspect they have been shared inappropriately or if a device is no longer in use.
Scanning
Do devices need internet access to scan?
Yes. Devices require an internet connection for real-time ticket validation. Offline scanning is not currently supported. Test internet connectivity at your venue before events.
Can devices flag problem tickets?
Yes. Devices can flag tickets for review, which alerts administrators to issues that need attention. This is useful for suspicious tickets, disputes, or special handling requirements.
What if multiple devices scan the same ticket?
The first scan marks the ticket as used. Subsequent scans show "already scanned" so staff know the ticket has already been processed.
Troubleshooting
The scan shows a wrong device name in history
Scan history records the device alias at the time of scanning. If you change an alias after scans have been recorded, historical records keep the original alias. Choose permanent, descriptive aliases from the start.
Staff cannot sign in even with correct passcode
Check that the organisation tag is correct and spelled exactly as configured. Verify the device has not been deleted. Try creating a new device entry if the issue persists.