Event Merchandise and Extras: Add-on Products at Checkout
Overview
The Merchandise & Extras section lets you offer products that customers can add to their ticket orders. These are items collected at the venue on the day of attendance.
At its simplest, merchandise answers one question: What else can customers buy when booking tickets?
Who uses this: Event organisers and administrators with event editing permissions.
Key capabilities:
- Add optional products (programmes, drinks, merchandise) to any event
- Set prices and available quantities per performance date
- Create item groups for variations (sizes, options) that share inventory
- Control visibility with public or private items
- Organise display order for customers
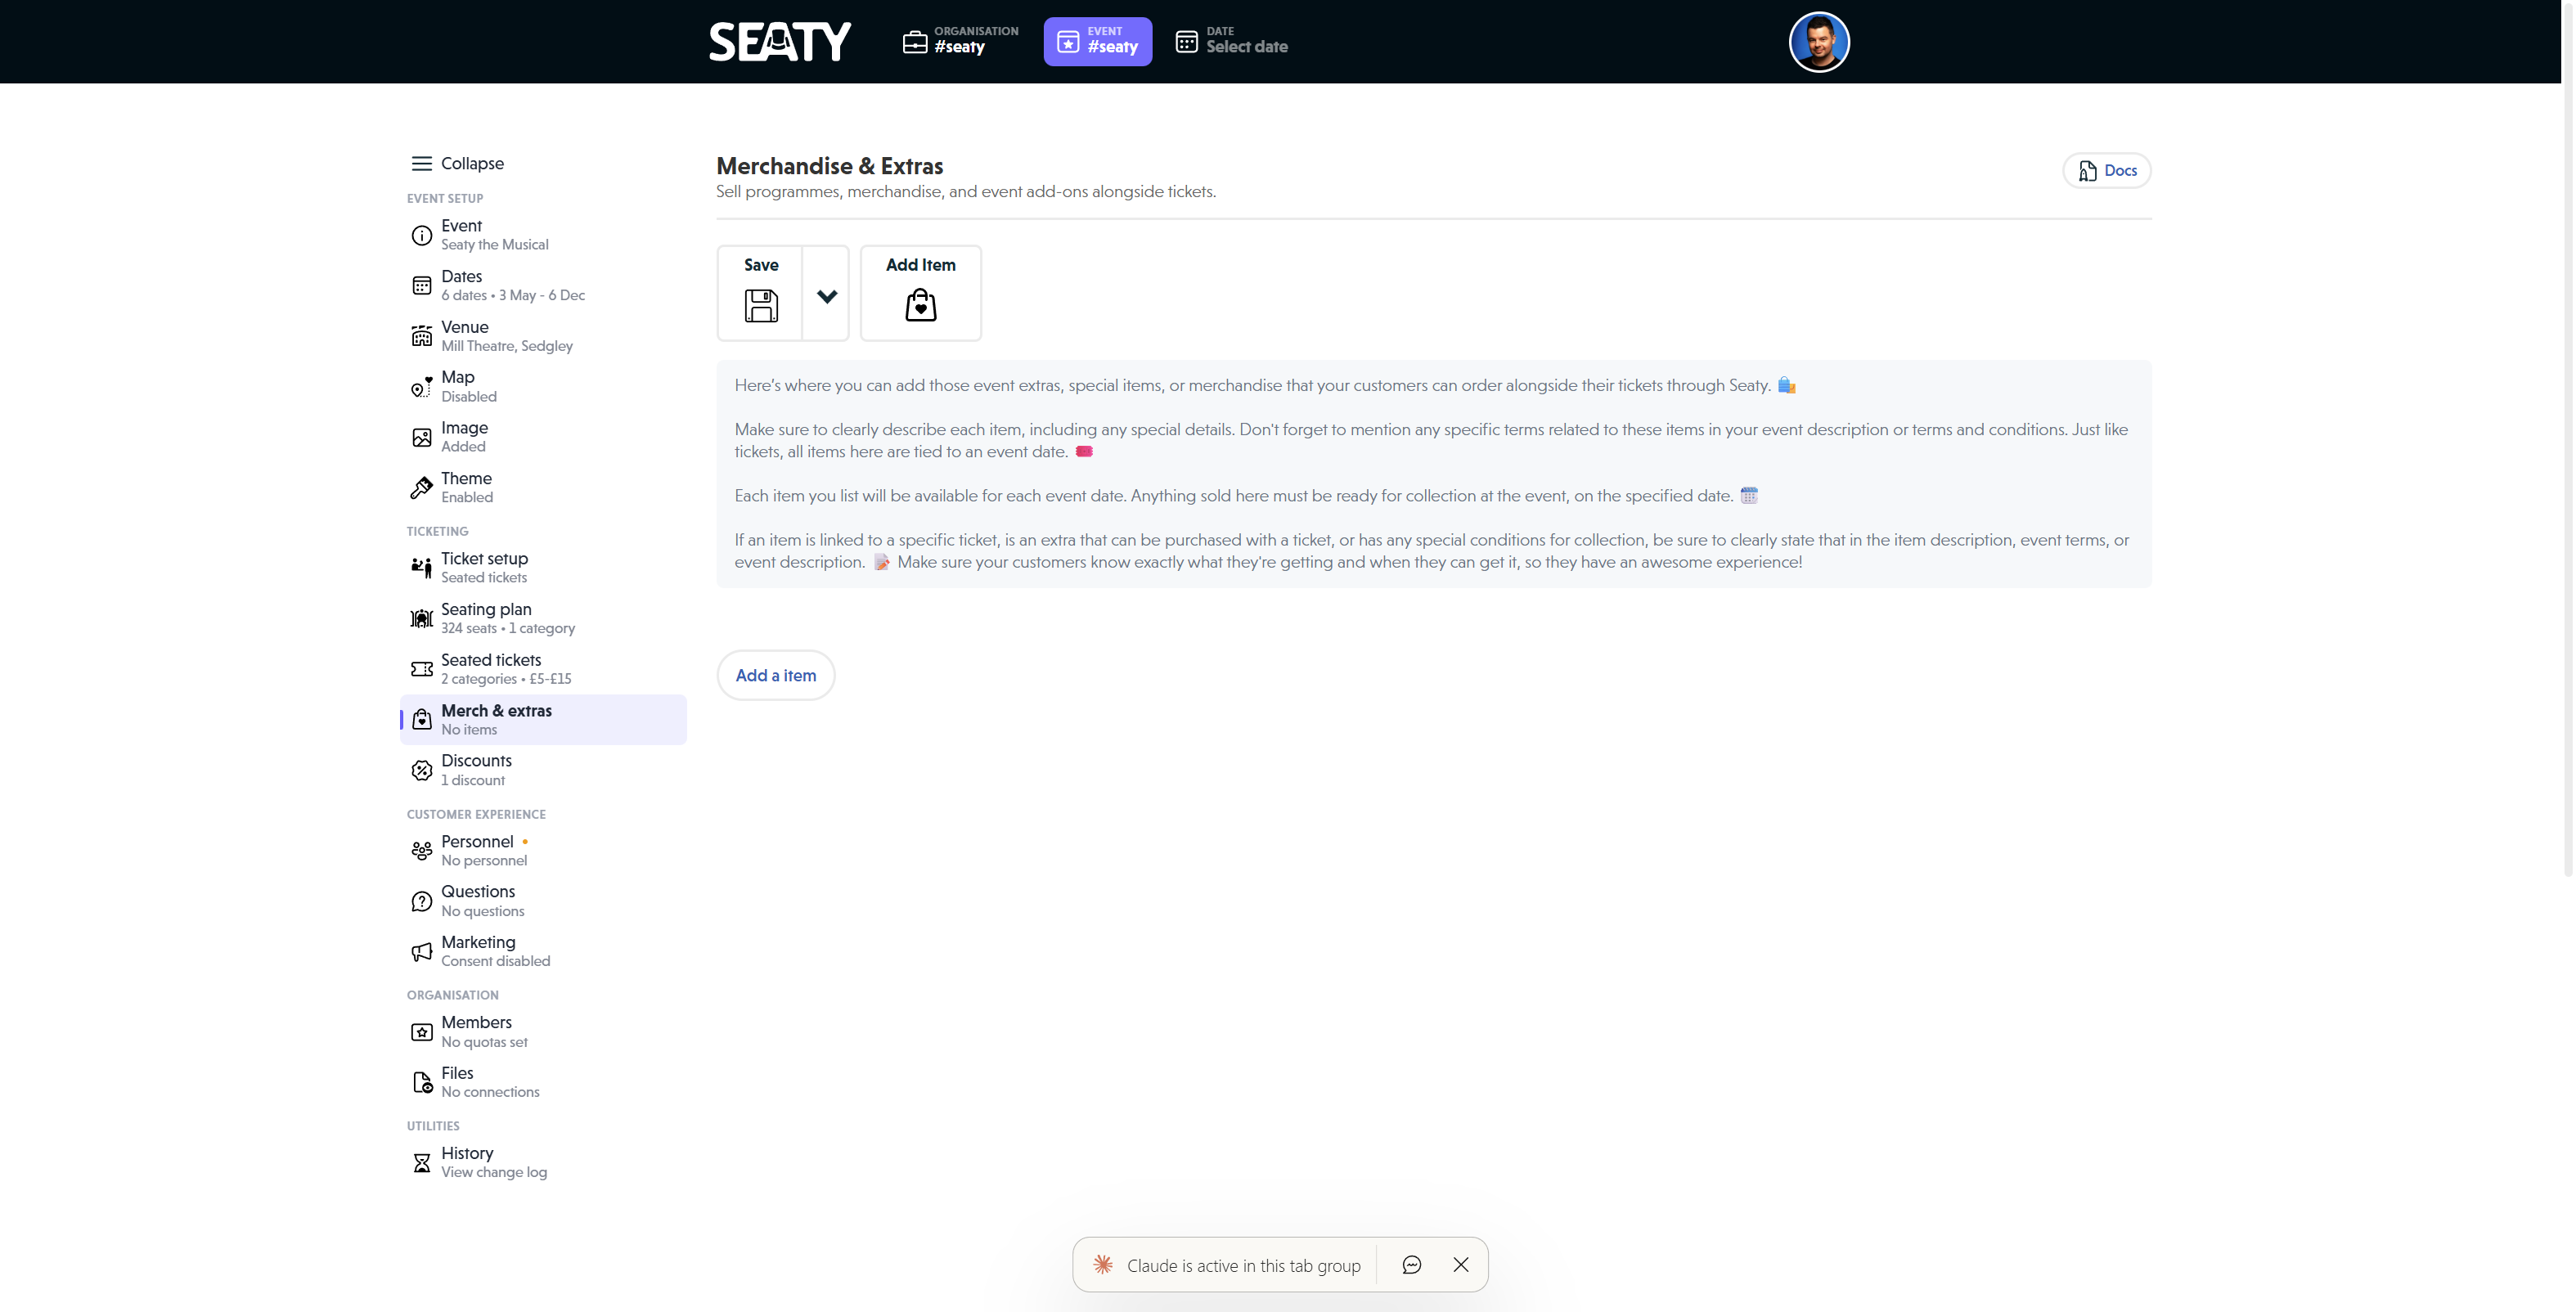 The Merchandise and Extras editor showing the toolbar with Save and Add Item buttons, information text about items and collection, and the Add a item button in the empty state
How It Works
At a glance: You create items, set quantities per date, and customers see them during checkout as "Optional Extras".
1. Create your items
Add products to the Merchandise & Extras section of the event editor. Each item needs a name, price, and quantity available per date.
2. Set date availability
Choose which performance dates each item is available for. Items only appear to customers booking those specific dates.
3. Customers add items during checkout
After selecting tickets, customers see an "Optional Extras" section where they can add merchandise to their order.
4. Items are collected at the venue
All merchandise is collected in person on the date of attendance. There is no delivery or shipping.
Think of it this way:
- Individual items are standalone products with their own stock count
- Item groups are variations (like t-shirt sizes) that share one stock pool
- Private items are hidden from customers but administrators can add them to orders
Understanding Merchandise Basics
What Customers See
During ticket booking, after selecting tickets, customers see an "Optional Extras" section displaying:
- Item name - Your descriptive product name
- Price - Displayed per item
- Description - Details about the item (if provided)
- Quantity selector - Choose how many to add
- Colour badge - Visual indicator matching your colour choice
Items display in the order you set. Items that have sold out show "Sold out" instead of a quantity selector.
Common Uses
- Theatre programmes
- Drinks and refreshments
- T-shirts and branded merchandise
- Concession bundles (e.g., "Drink & Programme")
- Workshop materials
- Parking passes
- Fundraising products
Programmes and pre-ordered refreshments are particularly common for amateur dramatic societies and dance school recitals, where they often add 20-40% to per-attendee revenue.
Important Characteristics
- Items are tied to event dates - customers collect on the date they attend
- All items must be collected at the venue - no shipping or delivery
- Quantities are managed per date - 50 programmes available per show
- Items can be public or private - control who can order them
Key Features
Individual Items vs Item Groups
Individual items (default):
- Single product with its own quantity
- Example: "Programme - £5.00" with 100 available
Item groups:
- Multiple variations sharing one quantity pool
- Example: "T-Shirt" group with Small, Medium, Large all sharing 30 total items
Note: Use groups when you have variations of the same product (sizes, colours, options) that draw from the same inventory.
Public vs Private Items
Public items:
- Visible to all customers
- Anyone can add to their order
- Standard merchandise approach
Private items:
- Only visible to organisation administrators
- Used for complimentary items, staff merchandise, or items requiring approval
- Shows "Only event administrators can book this item" to administrators
Date-Specific Availability
Every item is linked to specific event dates. This allows you to:
- Offer different items on different dates
- Manage per-performance quantities
- Control when items are available
Example: Opening night might offer "Champagne Reception Pack" only on that date, whilst programmes are available for all performances.
Shared Quantities in Groups
When you create an item group, all items in that group share the same quantity pool.
Example scenario:
- T-Shirt Group: 30 total available
- Small: 10 ordered = 10 items used
- Medium: 15 ordered = 15 items used
- Large: 5 ordered = 5 items used
- Total: 30 items used, 0 remaining
Why this helps: Prevents overselling when you have limited total inventory across variations.
Adding and Configuring Items
Adding a New Item
- Click "Add Item" at the top toolbar or bottom of the merchandise list
- A new item appears with default settings
You see the item interface with:
- Move up/down buttons (to change display order)
- Available dates selector
- Quantity field
- Item details section
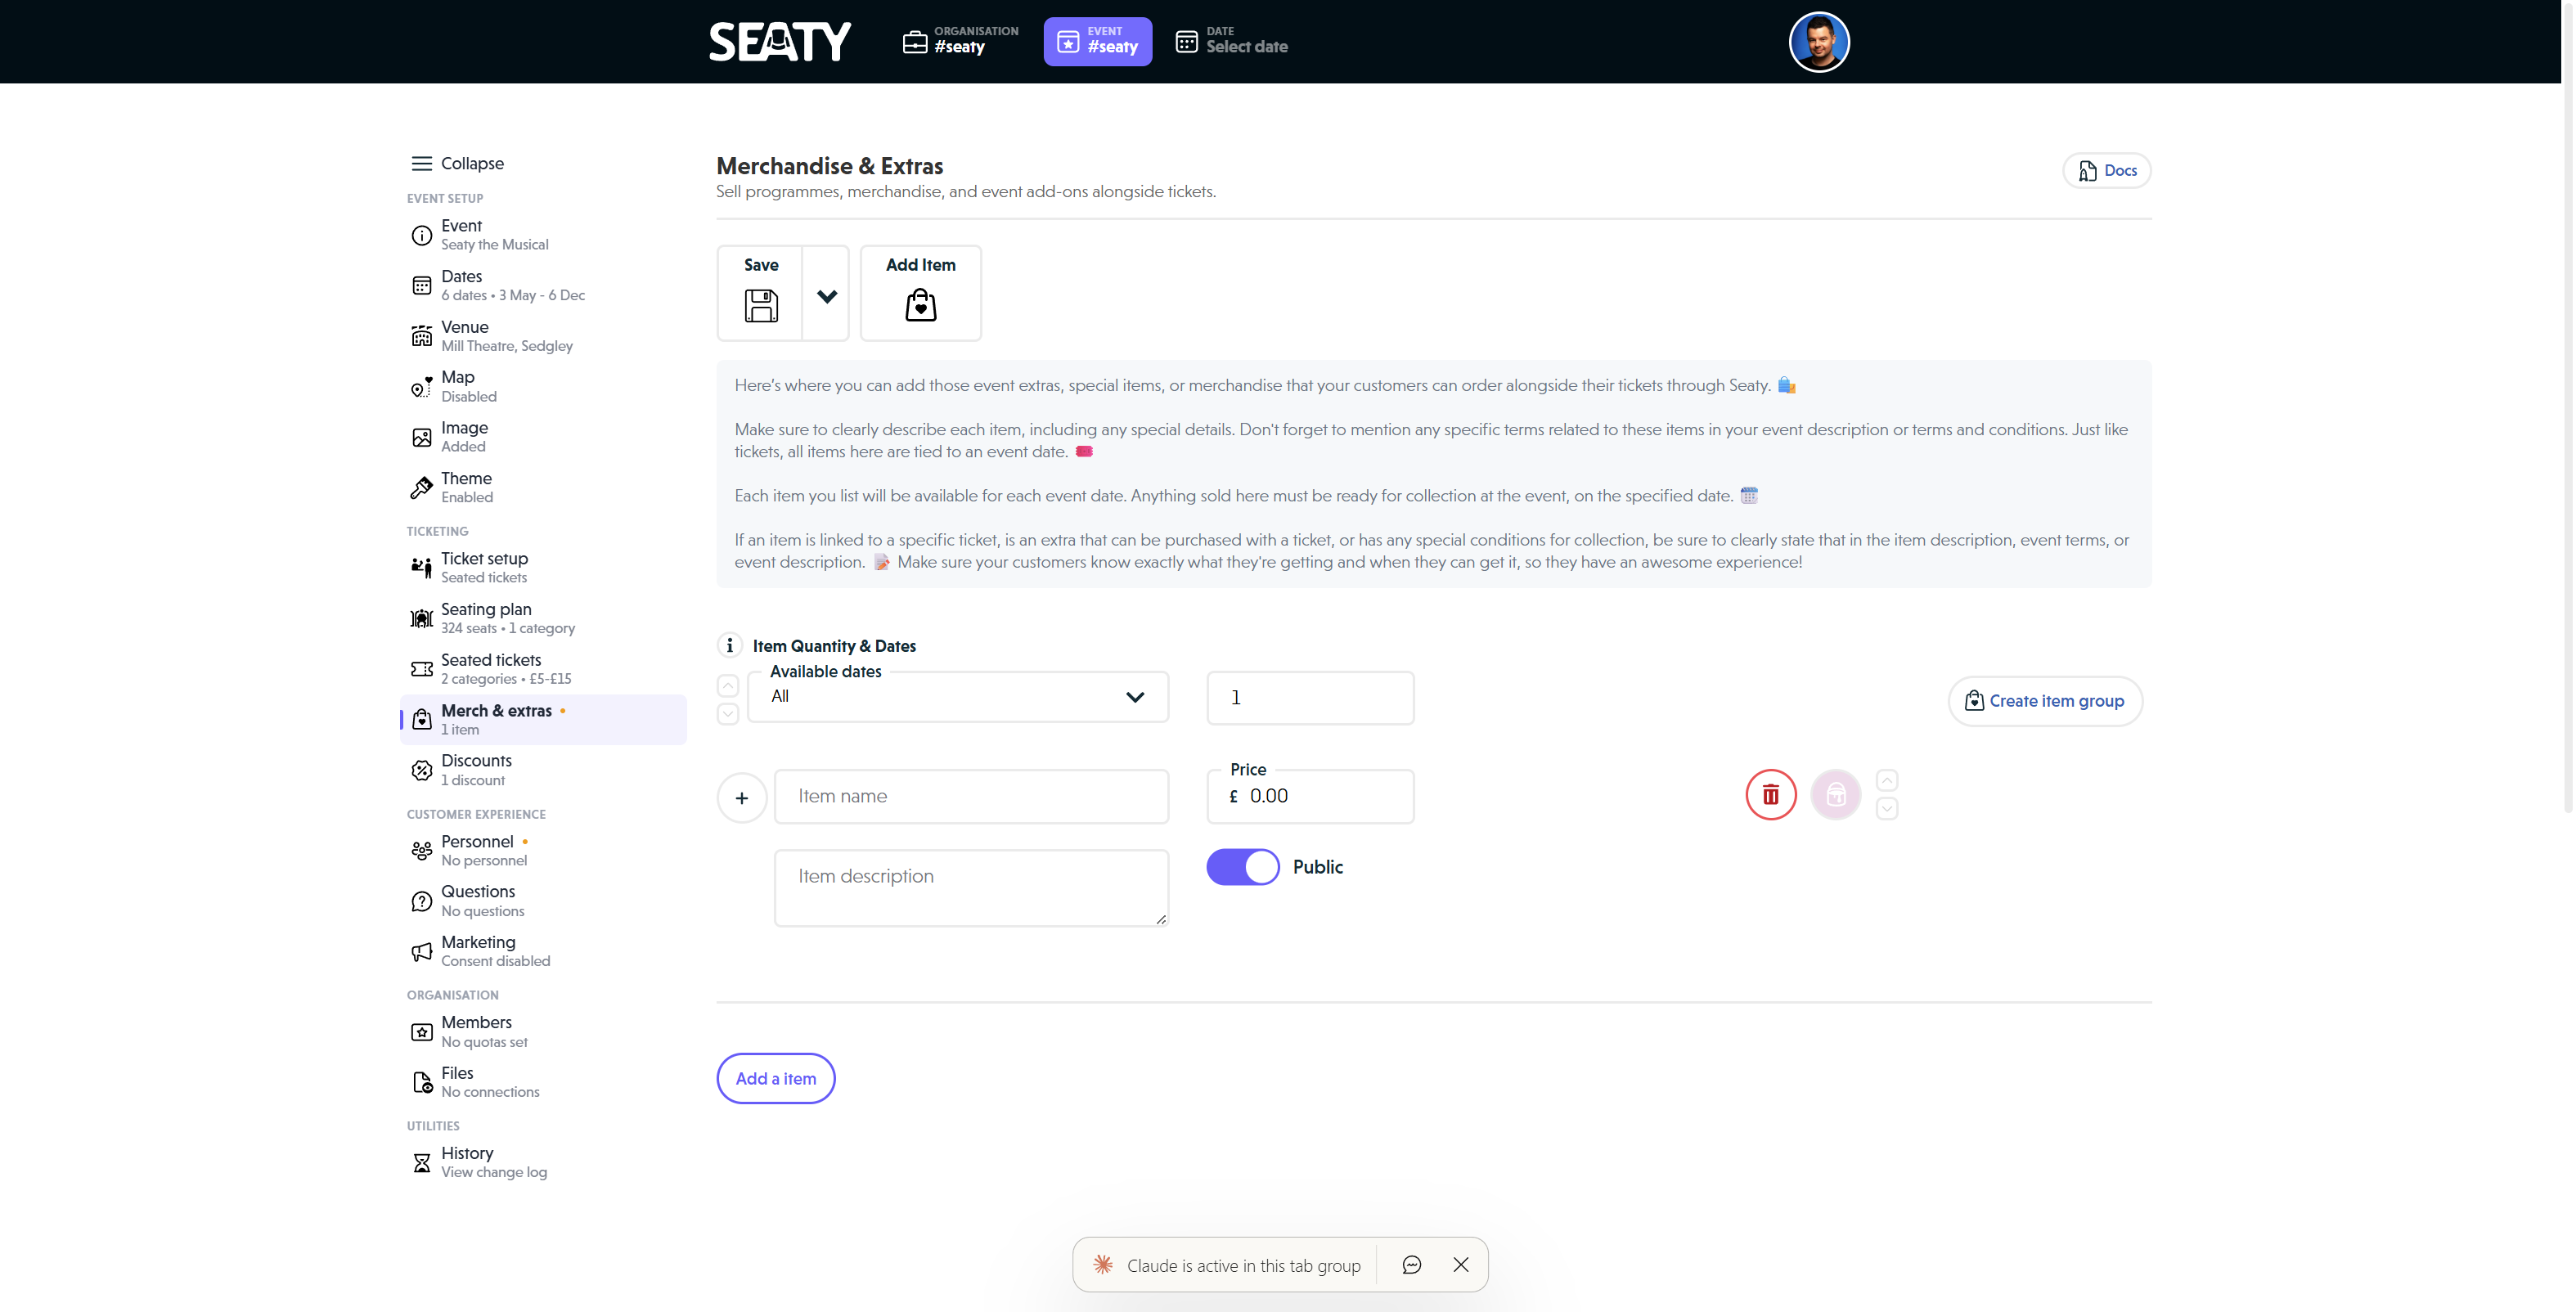 A merchandise item form showing the Available dates dropdown, Quantity field, Create item group button, expand button, Item name and description fields, Price with currency symbol, Public toggle, colour picker, delete and reorder controls
Configuring Item Details
Item name:
- Click in the "Item name" field
- Enter a clear, descriptive name (e.g., "Programme", "Drink & Snack Bundle")
- Keep it concise - this displays prominently to customers
Item description (optional but recommended):
- Click in the "Item description" field
- Add details about the item:
- What's included
- Size or specifications
- Collection instructions
- Special conditions
Example descriptions:
- "Full-colour programme with cast biographies and production notes"
- "Includes one drink and packet of crisps - collect from the bar"
- "Available in red, blue, or green - specify preference at collection"
Setting the Price
- Locate the "Price" field (shows your event's currency symbol)
- Enter the price (e.g.,
5.00for £5.00) - Invalid prices show "(Invalid)" in red
Valid prices:
- Numeric values only (no currency symbols in the field)
- Up to 2 decimal places
- Can be
0.00for free items (displays as "Free" to customers)
Setting Quantity
- Locate the "Quantity" field
- Enter the number of items available per date
- Must be a positive whole number
How quantity works:
- This quantity applies to each selected event date
- If you select 3 dates with quantity 50, you have 50 items per date (150 total across dates)
- Quantity depletes as customers order
- Administrators see remaining quantity
Note: Invalid entries show a warning but use the last valid value when saving.
Selecting Available Dates
- Click the "Available dates" dropdown
- You see all event dates grouped by day with times listed
Selecting dates:
- Click individual dates to select/deselect
- Use "Toggle all" (appears when 3+ dates exist) to quickly select/deselect all
- Selected dates show with a tick
- The dropdown shows count: "X selected"
Why this matters: Items are only available for the dates you select. Customers attending other dates do not see this item.
Public or Private
- Locate the "Public/Private" toggle switch below the price
- Click to toggle between states:
- Public (green) - Available to all customers
- Private (grey) - Administrator-only ordering
When to use private:
- Complimentary items for special guests
- Staff merchandise allocations
- Items requiring manual approval
- Testing new products before public release
Choosing Item Colour
Every item has a colour badge that displays to customers.
- Click the colour picker button (shows current colour)
- Choose a colour from the picker
- Click outside to close
Colour tips:
- Use different colours for different types (blue for programmes, red for drinks)
- Keep colours visually distinct for clarity
- Colours help customers quickly scan items
Reordering Items
Items display to customers in the order you set.
To move an item:
- Use the up arrow button to move the item higher in the list
- Use the down arrow button to move it lower
Best practice: Order items by importance or typical purchasing behaviour (programmes first, then drinks, then other merchandise).
Creating Item Groups
Item groups allow multiple variations of a product to share one quantity pool.
When to Create a Group
Use item groups for:
- Clothing sizes (S, M, L, XL)
- Colour variations
- Product options (with/without specific features)
- Bundled variations
Do not use groups for:
- Completely different products
- Items with separate inventory counts
Creating Your First Group
- Add a single item following the standard process
- Set the shared quantity for the entire group
- Select the available dates
- Click "Create item group"
Result: The button changes to "Add item to group".
Adding Items to the Group
- Click "Add item to group"
- A new item appears within the same group
- Configure the new item's name, description, price, public/private setting, and colour
What is shared:
- Quantity (all items draw from the same pool)
- Available dates (apply to all items in group)
What is individual:
- Name
- Description
- Price (can vary per item)
- Public/Private setting
- Colour
Example: T-Shirt Group
Setup:
- Add item: "Small T-Shirt"
- Set quantity: 30 (shared across all sizes)
- Set price: £15.00
- Select dates: All performances
- Click "Create item group"
- Click "Add item to group"
- Add "Medium T-Shirt" at £15.00
- Repeat for "Large T-Shirt"
Result: Customers see three options, all sharing the 30-item inventory pool.
Managing Groups
To add more items: Click "Add item to group" as many times as needed.
To remove an item from a group: Click the delete button on the item you want to remove. If you delete all items in a group, the entire group is removed.
To change shared quantity: Edit the quantity field at the group level (affects all items in the group).
Advanced Features
Items That Represent Multiple Units
Some products consume more than one item from your quantity per order.
Example use case: A "Family Bundle" that includes 4 programmes.
Setting it up:
- Click the expand button (+) on your item
- Find "How many items does this product represent?"
- Enter the number of items this product uses
- Click the collapse button (-) to close
How it works:
- Customer orders 1 "Family Bundle"
- System deducts 4 from your quantity
- Remaining quantity accurately reflects physical items available
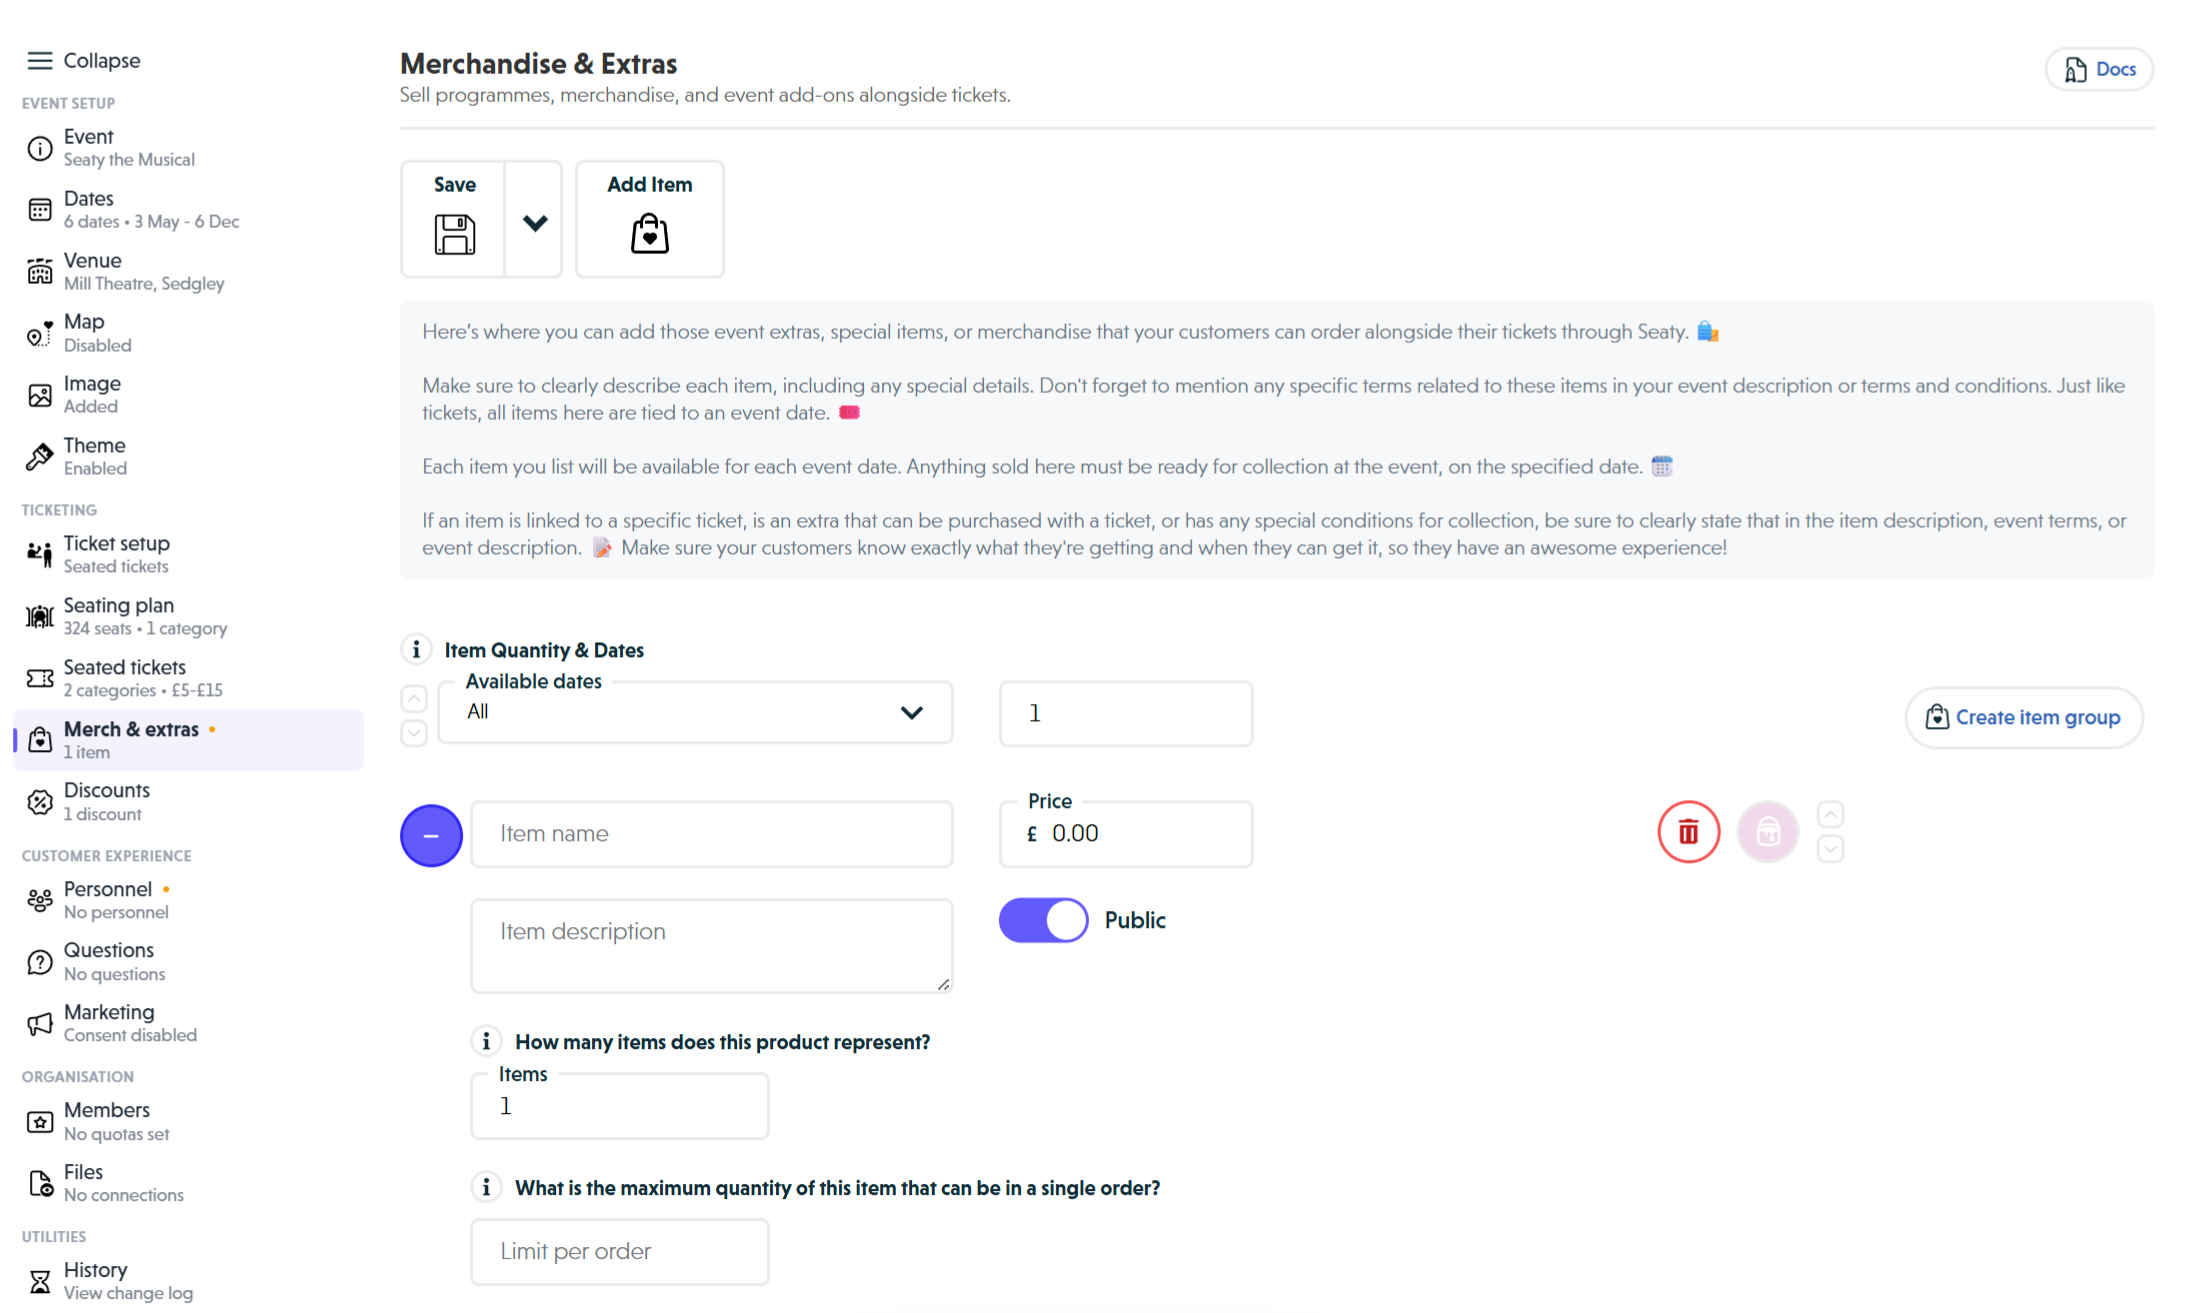 The expanded advanced settings showing Items count field, maximum quantity Limit per order field, and minimum quantity Minimum per order field for detailed merchandise configuration
Minimum Order Requirements
Require customers to purchase a minimum quantity of specific items.
- Click the expand button (+) on your item
- Find "What is the minimum quantity of this item required in an order?"
- Enter the minimum quantity required (leave blank or 0 for no minimum)
- Click the collapse button (-) to close
How it works:
- Customers are blocked from checkout until they meet the minimum
- Administrators can proceed with a warning dialog
- Validation occurs before payment processing
Common use cases:
- Require 1 car park ticket per order
- Enforce minimum programme purchases for groups
- Ensure catering minimums are met
Note: Leave blank or set to 0 for no minimum requirement.
Maximum Order Limits
Limit how many of an item each customer can buy.
- Click the expand button (+) on your item
- Find "What is the maximum quantity of this item that can be in a single order?"
- Enter your desired maximum (leave blank or 0 for no limit)
- Click the collapse button (-) to close
Handling Items with Orders
Once customers have ordered an item, restrictions apply.
You can:
- Change the item to private (hides from public but keeps existing orders)
- Edit the description
- Adjust future quantities (for dates without orders)
You cannot:
- Delete the item
- Change the name
- Modify the price
Why: Existing orders reference this item. Changing core details would invalidate customer purchases.
Items with orders show a message: "This item has existing orders placed against it and cannot be deleted."
Workaround: If you must remove an item with orders, make it private. This hides it from customers whilst preserving existing orders.
Practical Examples
Example 1: Theatre Programme
Scenario: Selling programmes for all performances
Setup:
- Add item
- Name: "Full-Colour Programme"
- Description: "60-page programme with cast biographies, director notes, and production history"
- Price: £5.00
- Quantity: 100 (per performance)
- Available dates: Toggle all (all performances)
- Public
- Colour: Blue
Result: Customers see programme option for £5.00 on every booking, with 100 available per show.
Example 2: Drinks Bundle with Options
Scenario: Offering drink bundles with size options
Setup item 1:
- Add item
- Name: "Small Drinks Bundle"
- Description: "One small soft drink and packet of crisps"
- Price: £3.50
- Quantity: 50 (shared across sizes)
- Available dates: All performances
- Create item group
Add to group:
- Add item to group
- Name: "Large Drinks Bundle"
- Description: "One large soft drink and packet of crisps"
- Price: £5.00
- (Uses same shared quantity and dates)
Result: Customers choose between small or large, both drawing from 50 total bundles per show.
Example 3: Opening Night Special
Scenario: Champagne reception only on opening night
Setup:
- Add item
- Name: "Opening Night Champagne Reception"
- Description: "Join us for a complimentary glass of champagne in the foyer after the show"
- Price: £10.00
- Quantity: 75
- Available dates: Select only opening night date
- Public
- Colour: Gold
Result: Item only appears for customers booking opening night tickets, limited to 75 guests.
Example 4: Complimentary VIP Package
Scenario: Free merchandise for VIP guests (administrator adds to orders)
Setup:
- Add item
- Name: "VIP Welcome Package"
- Description: "Includes programme, commemorative poster, and drink voucher"
- Price: £0.00 (free)
- Quantity: 20
- Available dates: All performances
- Private (only administrators can add)
- Colour: Purple
Result: Only administrators see this item when placing orders. They can add it to VIP guest bookings manually.
Example 5: T-Shirt Merchandise
Scenario: Selling production t-shirts in multiple sizes
Setup item 1:
- Add item
- Name: "T-Shirt - Small"
- Description: "Official production t-shirt with show artwork"
- Price: £15.00
- Quantity: 40 (shared across all sizes)
- Available dates: All performances
- Create item group
Add to group (repeat for each size):
- Add "T-Shirt - Medium" at £15.00
- Add "T-Shirt - Large" at £15.00
- Add "T-Shirt - XL" at £17.00 (slightly higher price)
Result: Customers choose their size from a group, all drawing from 40 total shirts per show.
Example 6: Parking Pass
Scenario: Limited parking spaces available for pre-purchase
Setup:
- Add item
- Name: "Venue Parking Pass"
- Description: "Guaranteed parking space in the venue car park. Display confirmation email on arrival."
- Price: £5.00
- Quantity: 30 (per performance)
- Available dates: All dates
- Public
- Colour: Yellow
Expanded settings:
- Click expand (+)
- "How many items does this product represent?": 1 (each pass = 1 space)
Result: Customers can pre-purchase parking, limited to 30 spaces per show.
Best Practices
Write Clear Item Names
Good names:
- "Full-Colour Programme"
- "Interval Drinks Bundle"
- "Production T-Shirt - Large"
- "Reserved Parking Pass"
Poor names:
- "Thing 1"
- "Merch"
- "Programme (it has cast info and stuff)"
Why: Customers quickly scan items during booking. Clear names help them decide.
Provide Helpful Descriptions
Good descriptions:
- Explain what is included
- Mention specifications (size, colour options)
- Note collection details
- Highlight special features
Example: "60-page full-colour programme featuring cast biographies, director notes, production history, and behind-the-scenes photographs. Collect from the foyer before the show."
Why: Descriptions answer customer questions before they ask, reducing confusion and increasing purchases.
Set Realistic Quantities
Consider:
- Physical stock available
- Expected attendance per performance
- Reorder timeframes
- Storage capacity
Example calculation (programmes):
- Venue capacity: 200
- Expected attendance: 85% (170 people)
- Programme purchase rate: 60%
- Set quantity: 105 (170 x 60% = 102, rounded up)
Tip: Start conservative. You can always increase quantities if items sell well.
Use Colours Strategically
Approaches:
- By category: Blue for programmes, red for drinks, green for merchandise
- By price: Gradient from cheap (light) to expensive (dark)
- By importance: Bright colours for key items, muted for optional extras
Avoid: Using the same colour for every item reduces visual distinction.
Order Items Logically
Common ordering strategies:
- By popularity: Most purchased first
- By price: Cheapest to most expensive
- By category: Programmes, then drinks, then merchandise
- By upsell value: Core items first, premium options below
Example order:
- Programme (most people want this)
- Interval Drinks Bundle (convenient add-on)
- T-Shirt (higher-value merchandise)
- Parking Pass (specialised need)
Mention Collection Details
In descriptions, clarify where and when customers collect items:
Examples:
- "Collect from the foyer desk when you arrive"
- "Available from the bar during the interval"
- "Pick up from the merchandise table after the show"
Why: Reduces confusion on the day and helps customers plan their arrival time.
State Special Terms Clearly
If items have conditions, mention them:
Examples:
- "Must be collected on your attendance date - no refunds for uncollected items"
- "Sizes available on first-come, first-served basis"
- "Car park gate closes 30 minutes after show end"
Where to mention:
- Item description (specific to that item)
- Event terms and conditions (applies to all merchandise)
- Event description (general merchandise policies)
Test Before Going Live
Before opening bookings:
- Place a test order as a customer
- Verify items display in the Optional Extras section
- Check quantities calculate correctly
- Confirm colours and descriptions appear as intended
- Test sold-out behaviour by temporarily setting quantity to 0
Why: Catching issues before customers see them prevents confusion and support requests.
Monitor Stock Levels
Regularly check:
- Navigate to Event Editor and then Merchandise & Extras
- Review quantities remaining
- Restock before items sell out
- Consider adding more if selling faster than expected
Common Questions
Pricing and Fees
Can I change the price after orders are placed? No. Once customers have ordered an item, you cannot modify its price. The price they paid must remain consistent.
Workaround: Create a new item at the new price and make the old item private. Existing orders keep the old price, new orders get the new price.
Do merchandise items have their own fees? Yes. Merchandise items are subject to the same booking fees as tickets (if fees are enabled for your event). Customers see the price including fees during checkout.
Can I set an item as free? Yes. Set the price to £0.00 and it displays as "Free" to customers.
Quantities and Limits
Can I limit how many of an item each customer can buy? Yes. Expand the item and set "Limit per order" to your desired maximum.
Can I require customers to buy a minimum quantity? Yes. Expand the item and set "Minimum per order". Customers are blocked from checkout until they meet the requirement. Administrators can override this with a warning.
What happens if an item sells out? The item displays with "Sold out" and the quantity selector is disabled. Administrators can still add sold-out items to orders for special requests.
Dates and Availability
Can I offer different items on different dates? Yes. This is exactly what the "Available dates" selector is for. Select only the dates where each item should be available.
Does quantity apply to each date or total? Each date. If you set quantity to 50 and select 3 dates, you have 50 items per date (150 total across all dates).
Groups and Variations
How do grouped items display to customers? All items in a group display together in the "Optional Extras" section. Customers see each item as a separate option with individual prices but one shared availability count.
Can items in a group have different prices? Yes. Each item in a group can have its own price, description, colour, and public/private setting. Only the quantity and available dates are shared.
Customer Requirements
Can customers order merchandise without ordering tickets? No. Merchandise is an add-on to ticket orders. Customers must select at least one ticket to access merchandise options.
Why? All merchandise is collected at events, so attendance is required.
What if I need to offer merchandise separately? Consider creating a separate "Merchandise Collection" event with free general admission tickets. Customers "book" a free collection slot and add merchandise.
General
Do I need to add merchandise to every event? No. Merchandise is entirely optional. Many events do not sell any add-ons.
Can I see which customers ordered which items? Yes. In the order dashboard, view individual orders to see merchandise in the order breakdown. Export attendee lists include merchandise columns.
How do refunds work for merchandise? When refunding an order with merchandise, items return to available quantity and customers receive full refund including merchandise. Clearly state your merchandise refund policy in event terms and conditions.
Next Steps
Once you have configured your merchandise, continue setting up your event:
Recommended next section: Discounts - Create discount codes that apply to both tickets and merchandise
After merchandise setup:
- Test the booking flow to see how customers experience the booking process
- Add questions: Custom Questions - Collect additional information from attendees
- Configure marketing: Marketing Tools - Set up SEO and social sharing
Complete Event Editor Guide: Event Setup Overview
Need help? Visit our Organiser FAQ or contact support.