Recording Cash, Cheque and Bank Transfer Payments
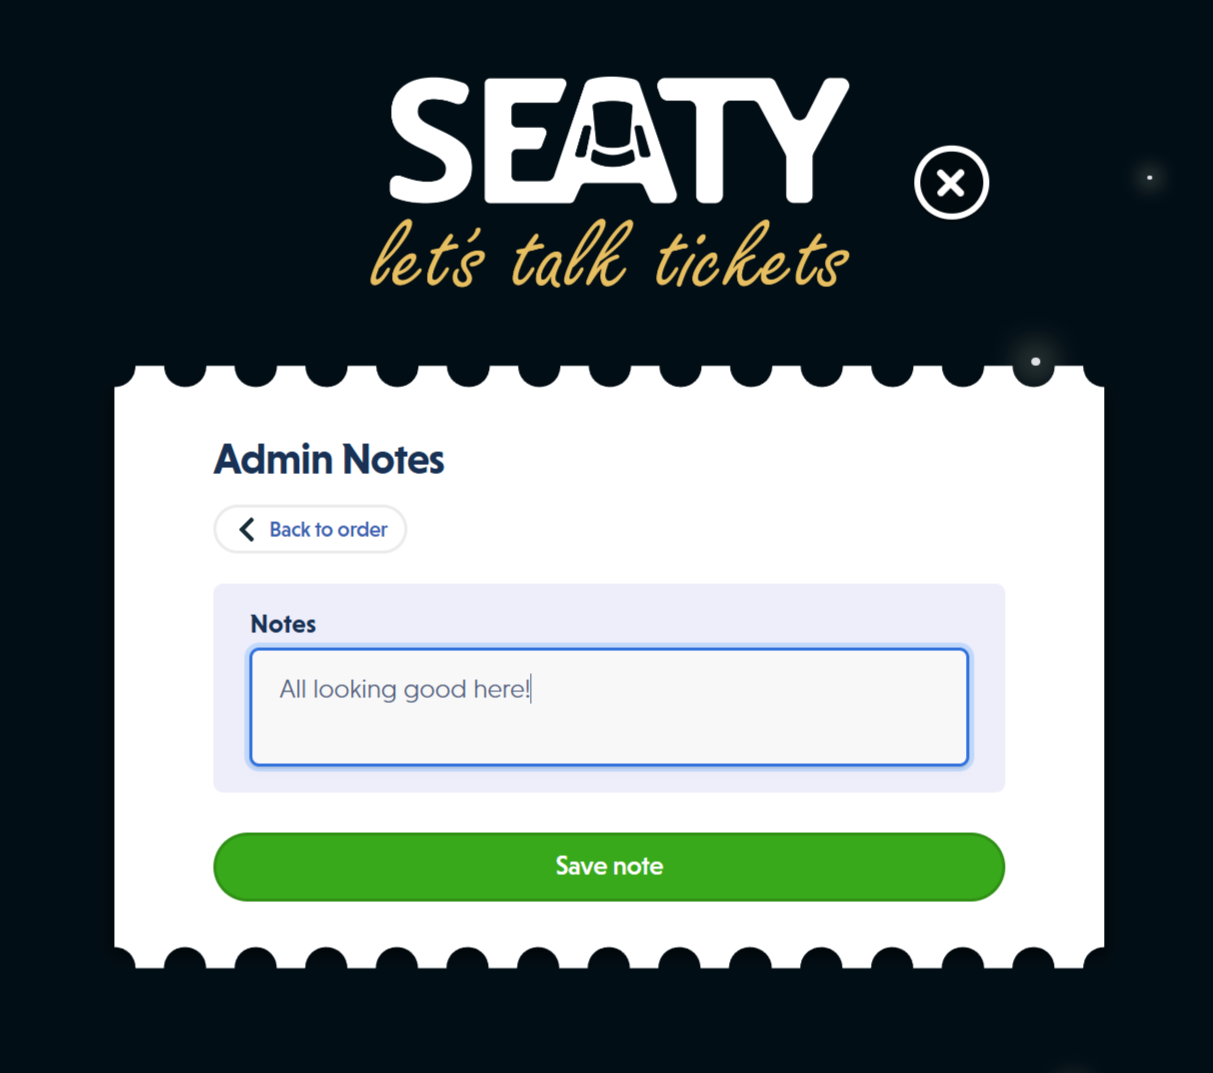 Order view showing financial summary and payment details
Overview
Balance payments let you record that payment has been received for tickets when customers pay outside of online checkout. This keeps your ticket inventory and financial records accurate when accepting cash, cheques, or bank transfers directly.
At its simplest, balance payments answer one question: How do I mark tickets as paid when the customer didn't pay online?
Who uses this: Organisation administrators and staff with the OrderBalancePayments permission.
Key capabilities:
- Mark selected tickets as paid manually
- Specify payment type (cash, cheque, bank transfer, or card)
- Set the actual date payment was received
- Add notes for record-keeping and reconciliation
How It Works
At a glance: Find the order, select unpaid tickets, choose a payment type, set the date, and submit. The system marks the tickets as paid and emails the customer a confirmation.
1. Find the order
Locate the order through Order Search or your event's order list, then open the order dashboard.
2. Select tickets to mark as paid
All unpaid, non-cancelled tickets are selected by default. Uncheck any you don't want to include (useful for partial payments). If the order has discounts applied, you must pay for all tickets together.
3. Specify payment details
Choose the payment method, set the date payment was received, and add notes explaining the payment (reference numbers, who accepted it, etc.).
4. Submit and confirm
Review your selections and submit. The system marks the tickets as paid, updates the order status, and sends a payment confirmation email to the customer.
Think of it this way:
- Online payments are processed automatically when customers pay through checkout
- Balance payments are for money you receive directly and need to record manually
- Financial reports combine both types so your records stay complete
When to Use Balance Payments
Use this feature when:
- A customer pays cash at your box office or venue
- A customer sends payment via bank transfer
- A customer gives you a cheque
- You process a card payment outside the online checkout
Don't use this for:
- Orders paid online through checkout (automatically marked as paid)
- Refunds (use the Cancel/Refund feature instead)
Permission Required
To record balance payments, you need the OrderBalancePayments permission.
What this allows:
- Mark tickets as paid manually
- Specify payment type and date
- Add payment notes
Who typically has this permission:
- Organisation administrators
- Staff members granted this specific permission
If you cannot see the "Add payment" button, contact your organisation administrator to request access.
Recording a Payment Step by Step
Finding the Add Payment Button
On the order dashboard, scroll to the Payment status section and click Add payment.
Requirements to see this button:
- Order must have unpaid tickets
- Order must not have been paid online
- You must have
OrderBalancePaymentspermission - Order must not be fully cancelled
Selecting Tickets
By default, all unpaid, non-cancelled tickets are selected. Already-paid tickets appear greyed out and cannot be selected again.
Why can't I select individual tickets when discounts are applied? Discounts are calculated across the entire order. Allowing partial selection would make the discount amounts inaccurate, so payment must be for all tickets together.
Choosing Payment Type
Select the method that matches how you received payment:
| Payment Type | When to use |
|---|---|
| Paid with cash | Customer paid in cash at box office or venue |
| Paid with cheque | Customer provided a cheque |
| Paid by bank transfer | Customer transferred money via bank transfer |
| Paid with card outside of Seaty | Card payment processed outside Seaty |
Why does payment type matter? It helps with financial reconciliation and reporting. Your Banking and Balances records show payments categorised by method.
Setting the Payment Date
The date defaults to now, but you can change it to when payment was actually received.
Why accurate dates matter: Financial reports group payments by date. Incorrect dates make it harder to reconcile with bank statements.
Adding Notes
Notes are optional but recommended. Include:
- Reference numbers (cheque numbers, bank transfer references)
- Who accepted the payment
- Any special circumstances (split payments, etc.)
Why bother with notes? They make reconciliation much easier later and provide context if questions arise.
Submitting the Payment
Review your selections, then click Submit payment. The system will:
- Mark selected tickets as paid
- Create a payment record
- Send a confirmation email to the customer
- Update the order's payment status
What Happens After Recording
Immediate changes:
- Selected tickets show "Paid" status on the order dashboard
- Payment appears in the order's financial summary
- Customer receives a confirmation email
Order status updates:
- If all tickets are now paid, the order shows as "Fully paid"
- If some tickets remain unpaid, the order shows partial payment
- The "Add payment" button remains available for any unpaid tickets
Financial records:
- Payment appears in Banking and Balances reports
- The date you set determines which reporting period it appears in
Editing a Recorded Payment
You can edit:
- Payment type
- Payment date
- Payment notes
You cannot edit:
- The amount (determined by selected tickets)
- Which tickets were paid
To edit a payment:
- Navigate to Banking and Balances for the event
- Find the payment record
- Click to edit payment details
- Submit changes
Common Scenarios
Box office cash payment
Customer arrives at the venue and pays cash for their tickets.
- Open the order dashboard
- Click "Add payment"
- Ensure tickets are selected
- Select "Paid with cash"
- Add note: "Box office cash payment - received by [your name]"
- Submit payment
Bank transfer received later
Customer transferred payment on Monday, you notice it on Friday.
- Open the order dashboard
- Click "Add payment"
- Select unpaid tickets
- Select "Paid by bank transfer"
- Change the date to Monday (when payment was made)
- Add note with the bank transfer reference
- Submit payment
Partial payment
Customer pays cash for some tickets now, will pay the rest later.
- Open the order dashboard
- Click "Add payment"
- Deselect tickets not being paid for
- Select "Paid with cash"
- Add note: "Partial payment - [amount] of [total]. Remaining to follow."
- Submit payment
- When the second payment arrives, repeat for remaining tickets
Cheque payment
Customer gives you a cheque.
- Open the order dashboard
- Click "Add payment"
- Select tickets
- Select "Paid with cheque"
- Add note: "Cheque #[number] from [customer name]"
- Submit payment
Note: Only mark cheques as paid after they clear. Marking as paid before clearance causes reconciliation problems if the cheque bounces.
Important Notes
Cannot record payment if:
- Order was paid online
- All tickets are already marked as paid
- All tickets are cancelled
- You don't have
OrderBalancePaymentspermission
Best practices:
- Record payments promptly when received
- Always add notes explaining the payment
- Use correct payment dates for accurate reporting
- Verify money is in your account before marking as paid
- Wait for cheques to clear before recording
If you make a mistake:
- You cannot undo a payment marking yourself
- Contact Seaty support for assistance
- In some cases, tickets may need to be cancelled and the order recreated
Common Questions
Permissions and Access
Why can't I see the "Add payment" button?
Check that you have the OrderBalancePayments permission, the order has unpaid tickets, and the order wasn't paid online.
Who can see my payment notes? Only staff with access to the order. Customers see a payment confirmation email but not your internal notes or payment type.
Partial and Split Payments
Can I record a payment for only some tickets? Yes, unless the order has discounts applied. With discounts, payment must be for all tickets to keep discount calculations accurate.
What if the customer pays in multiple instalments? Record each payment separately. The first payment covers some tickets, subsequent payments cover the rest.
Payment Timing
What if the customer hasn't paid yet, but I want to release tickets? Don't mark tickets as paid until payment is received. This keeps your financial records accurate. Document the situation in admin notes instead.
What happens if I mark a ticket as paid but the cheque bounces? Contact Seaty support to reverse the payment. Then cancel the tickets or contact the customer for alternative payment.
Editing and Corrections
Can I delete a recorded payment? No, payments cannot be deleted through the interface. Contact Seaty support if you need to remove an incorrectly recorded payment.
Can I change the amount paid? No, the amount is calculated from selected tickets. For custom amounts, contact Seaty support.
Financial Records
How do balance payments appear in Banking and Balances? As individual payment records with the payment type, date, amount, and notes you specified. They're categorised separately from online payments.
Tips for Efficient Recording
- Record payments daily - Don't let them pile up
- Use consistent note formats - Makes searching easier later
- Include reference numbers - Bank transfer references, cheque numbers
- Verify before marking - Confirm money is in your account
- Use correct dates - Makes financial reports reliable
- Train your team - Ensure everyone follows the same process
Need help? Contact Seaty support if you need assistance with recording payments or reconciling your accounts.